


Spend a few minutes to protect your account from strangers.
Two-factor authentication greatly enhances your computer’s security. Even if an attacker somehow finds out your password, he still will not be able to log in without a randomly generated code on your phone.
To configure this option, you first need to install an authentication application on your smartphone. It is better to choose Microsoft Authenticator, the native application for Windows 10, or the popular and universal Google Authenticator.
Now turn on two-step authentication in Windows 10. Note that for this you will have to link your account with your Microsoft account if you have not already done so.
- Open “Options” and select “Accounts”.
- On the “Your Details” tab, click on “Log in instead with a Microsoft account.”
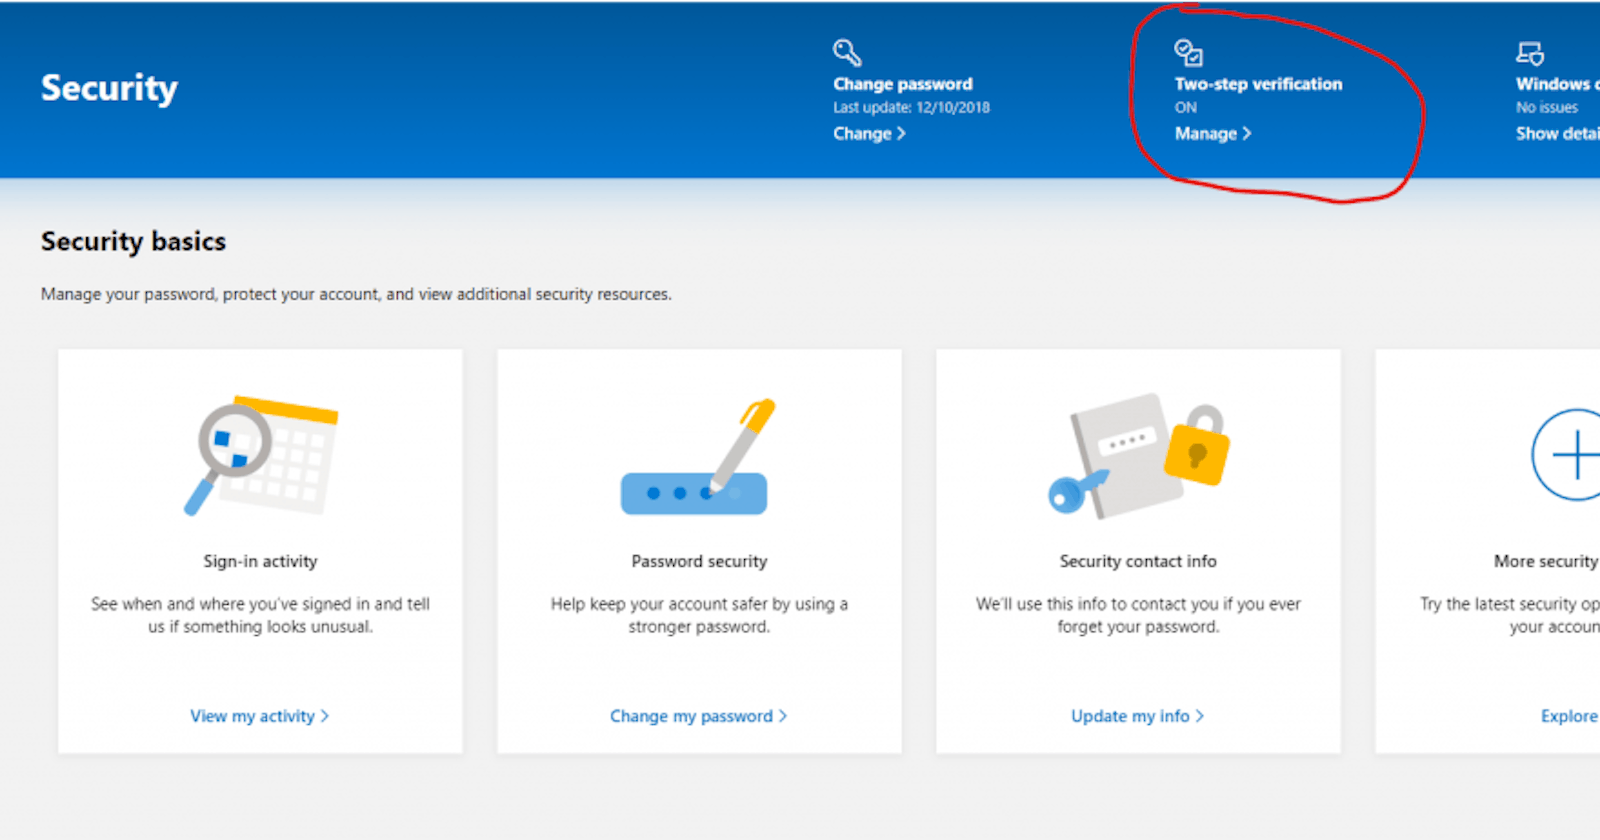
- Select “Microsoft Account Management.” A page with the settings for your account will open in the browser. Find the Security section.
- Open Advanced Security Settings. The system may ask you to enter a verification code sent to your email address.
- Find the “Configure two-step verification” item on the page and enable two-factor authentication.
Now click on “Install Identity Verification Application”. You will be asked to select your mobile OS and install the Microsoft Authenticator application. You can also select “Other” if you want to use Google Authenticator.
A QR code will appear on the screen. Scan it with your mobile authenticator, and the account will be configured automatically.
Now, when you enter Windows 10, the system will request a random code generated by the application on your phone.
The post How to set up two-factor authentication when logging into Windows 10 appeared first on Creador.